ESPORTS FOR ALL
WHAT THE HECK IS MOXY eSPORTS?
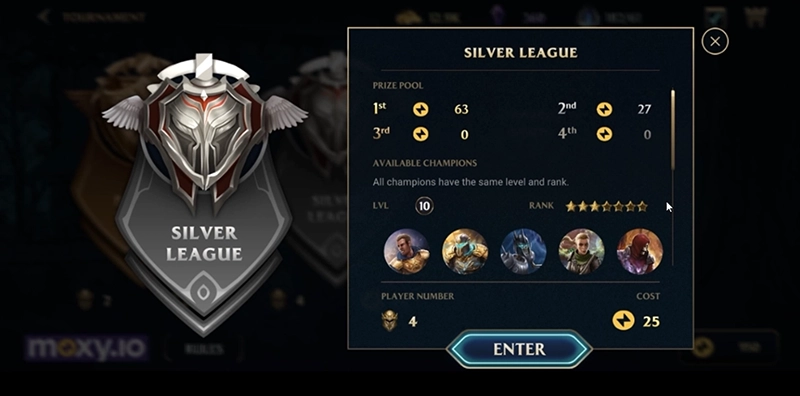
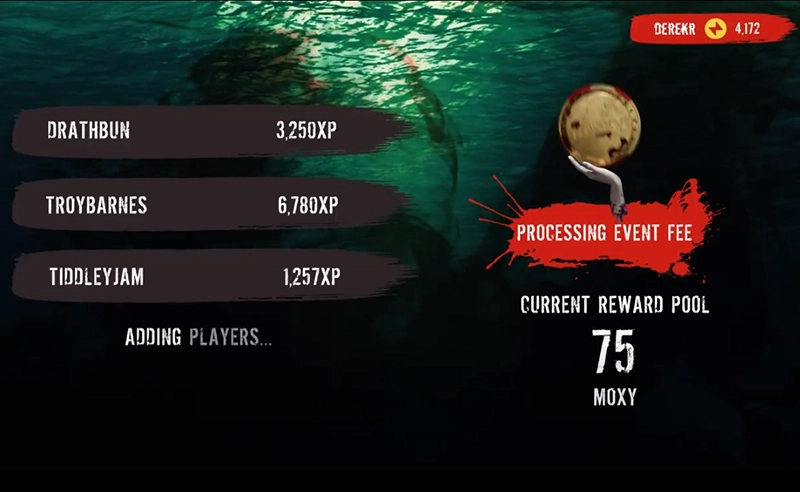
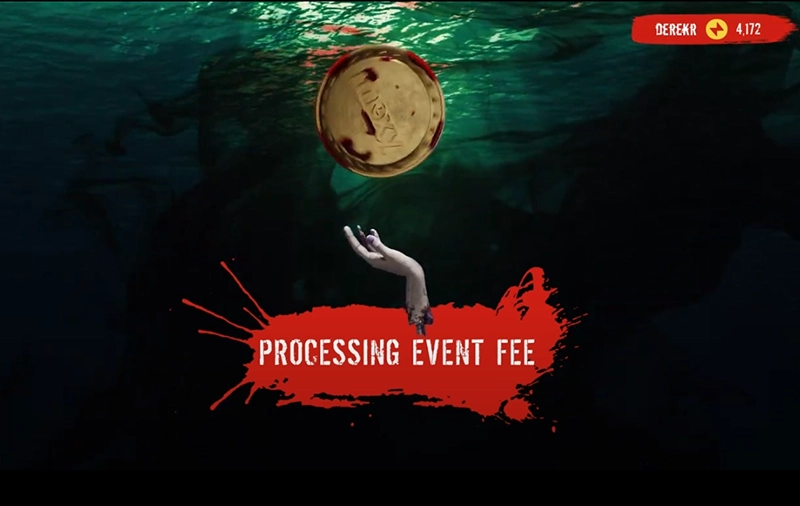
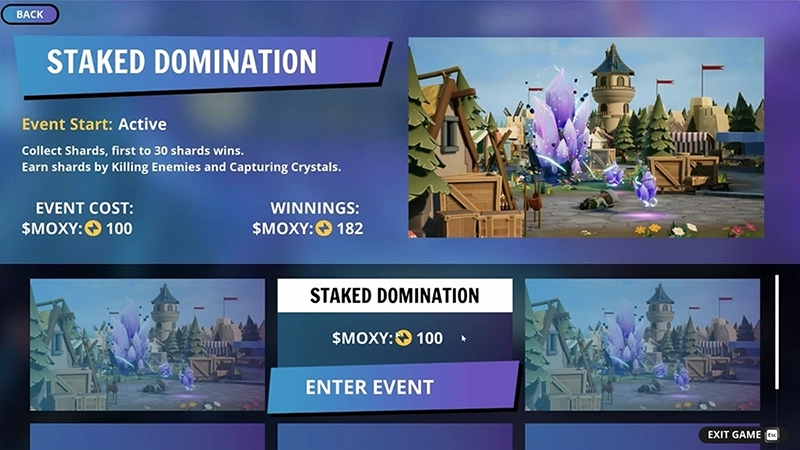
Definition: Moxy eSports is a game mode that requires an entry fee by participating players. Entry fees create a rewards pool. Winners receive the rewards pool at the conclusion of the game.
eSPORTS FOR ALL.
NO EXCEPTIONS.
OK, WHO IS MOXY FOR?
Gamers
Any gamer who wants to experience eSports competition and the thrill of winning real rewards.
Gamers
Game Devs & Publishers
Any AAA to casual game on PC, Console and Mobile that wants to offer on-demand eSports gameplay to its playerbase.
GAME DEVS & PUBLISHERS
GAMERS, STILL PLAYING FOR HIGH SCORES & XP?
TIME TO #MOXYUP!
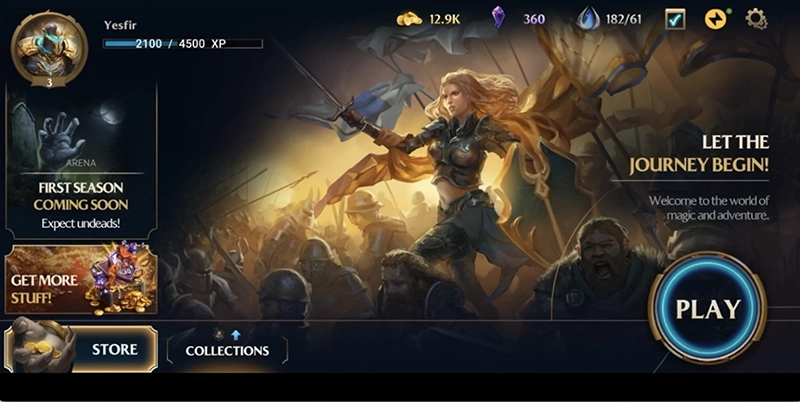
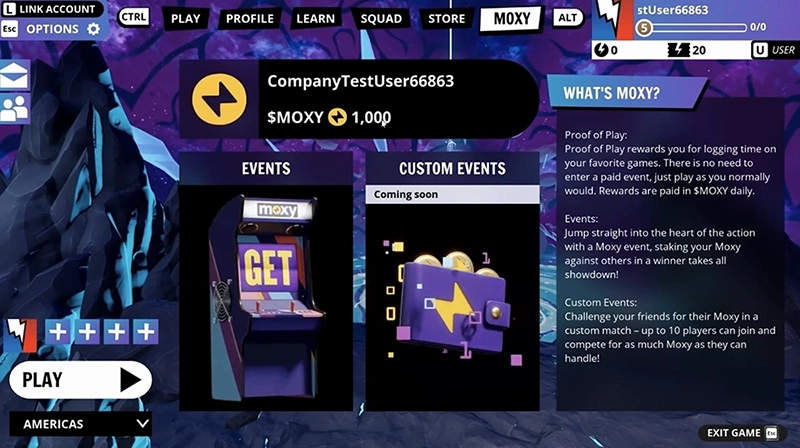
Moxy enables you to raise the stakes in your favorite games. How does it work?
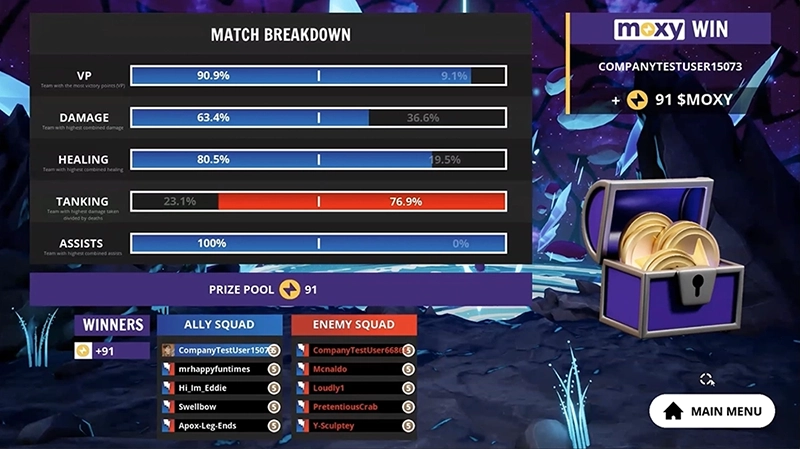
With Moxy, you can play your favorite games as you normally would, but now you’ll have a new option — you can play your favorite games in Moxy eSports game modes whenever you want. Moxy eSports game modes require each player to pay an entry fee using the global eSports token, MOXY. The entry fee goes straight into the prize pool. In Moxy eSports game modes, winners receive the prize pool.* Play the community or your friends for real rewards and elevate the intensity of the competition and the thrill of winning! The Moxy on-demand eSports era is here, and there’s no turning back.
Soon, traditional game modes will just become practice for when you’re ready to play for real, and put your MOXY where your mouth is!
* 90.1% of all entry fees are allocated to the prize pool for each game, 6.0% will be distributed to the game’s developer, 2.9% will be burned into the PLAY pool and taken out of circulation, and 1.0% will be distributed to Moxy. The distribution percentages are subject to change.
YOU MUST BE A MOXY CLUB MEMBER AND HAVE MOXY TO PLAY ON-DEMAND eSPORTS.
#MOXY_TRASHTALK
MOXY UP
SH!& STAIN!
@unclogging_glory%85
Inspired by @Chelban5
#MOXY_TRASHTALK
MOXY UP
BIT$%!
@prune_juice_pirate1912
#MOXY_TRASHTALK
MOXY UP
HUMAN!
@yourmom_likesitgreen
#MOXY_TRASHTALK
MOXY UP
CANDY ASS!
@your_candy_A$$
#MOXY_TRASHTALK
MOXY UP
PEASANT!
@viking_badass
#MOXY_TRASHTALK
MOXY UP
EARTHLING!
@beamingup_thecompetition
#MOXY_TRASHTALK
MOXY UP
HEATHEN!
@holy_holy_fromabove
DEVELOPERS & PUBLISHERS, MOXY IS PLUG & PLAY eSPORTS
#MOXYTHATGAME
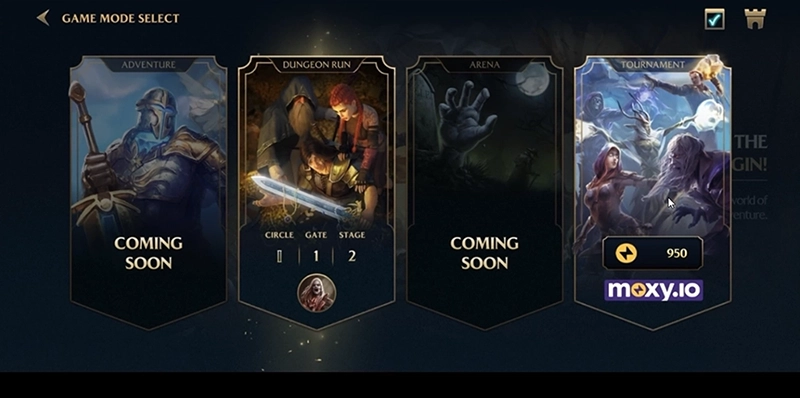
Moxy is the first and only plug & play solution that empowers games with on-demand eSports gameplay. The industry’s first eSports solution has finally arrived!
With Moxy, game developers can, for the first time, meet the massive market demand of the 540 million gamers who tune into eSports but can’t themselves engage in eSports-style competition. It’s time to give gamers the opportunity they want.
YOUR GAME, YOUR INTEGRATION,
DO IT YOUR WAY.
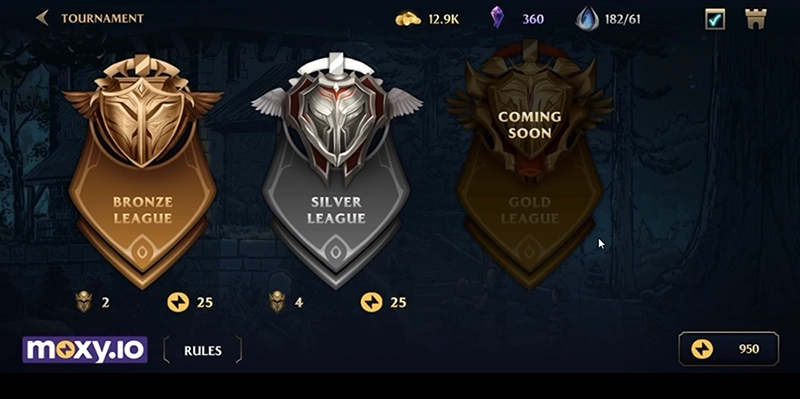
As a developer, you are in full control of how eSports game modes are presented and played natively within your game. Create almost any form of competition and reward format. Set entry fees or put that in the hands of the players. How you do eSports is up to you. Moxy will accommodate almost any style of gameplay.
eSPORTS GAMEPLAY WILL GO FROM NICHE TO NECESSARY IN LESS THAN 3 YEARS IN MAINSTREAM VIDEO GAMING.
SOON, GAMES WILL NEED TO OFFER ON-DEMAND eSPORTS GAMEPLAY TO REMAIN RELEVANT.
TALK IS CHEAP. SEE IT IN ACTION: